Getting Started with Sessions
Scheduling training sessions is at the heart of your dog training business. Pawgress makes it easy to create, manage, and track all your client sessions in one place. This guide will walk you through scheduling your first training session after you’ve set up your packages and connected with clients.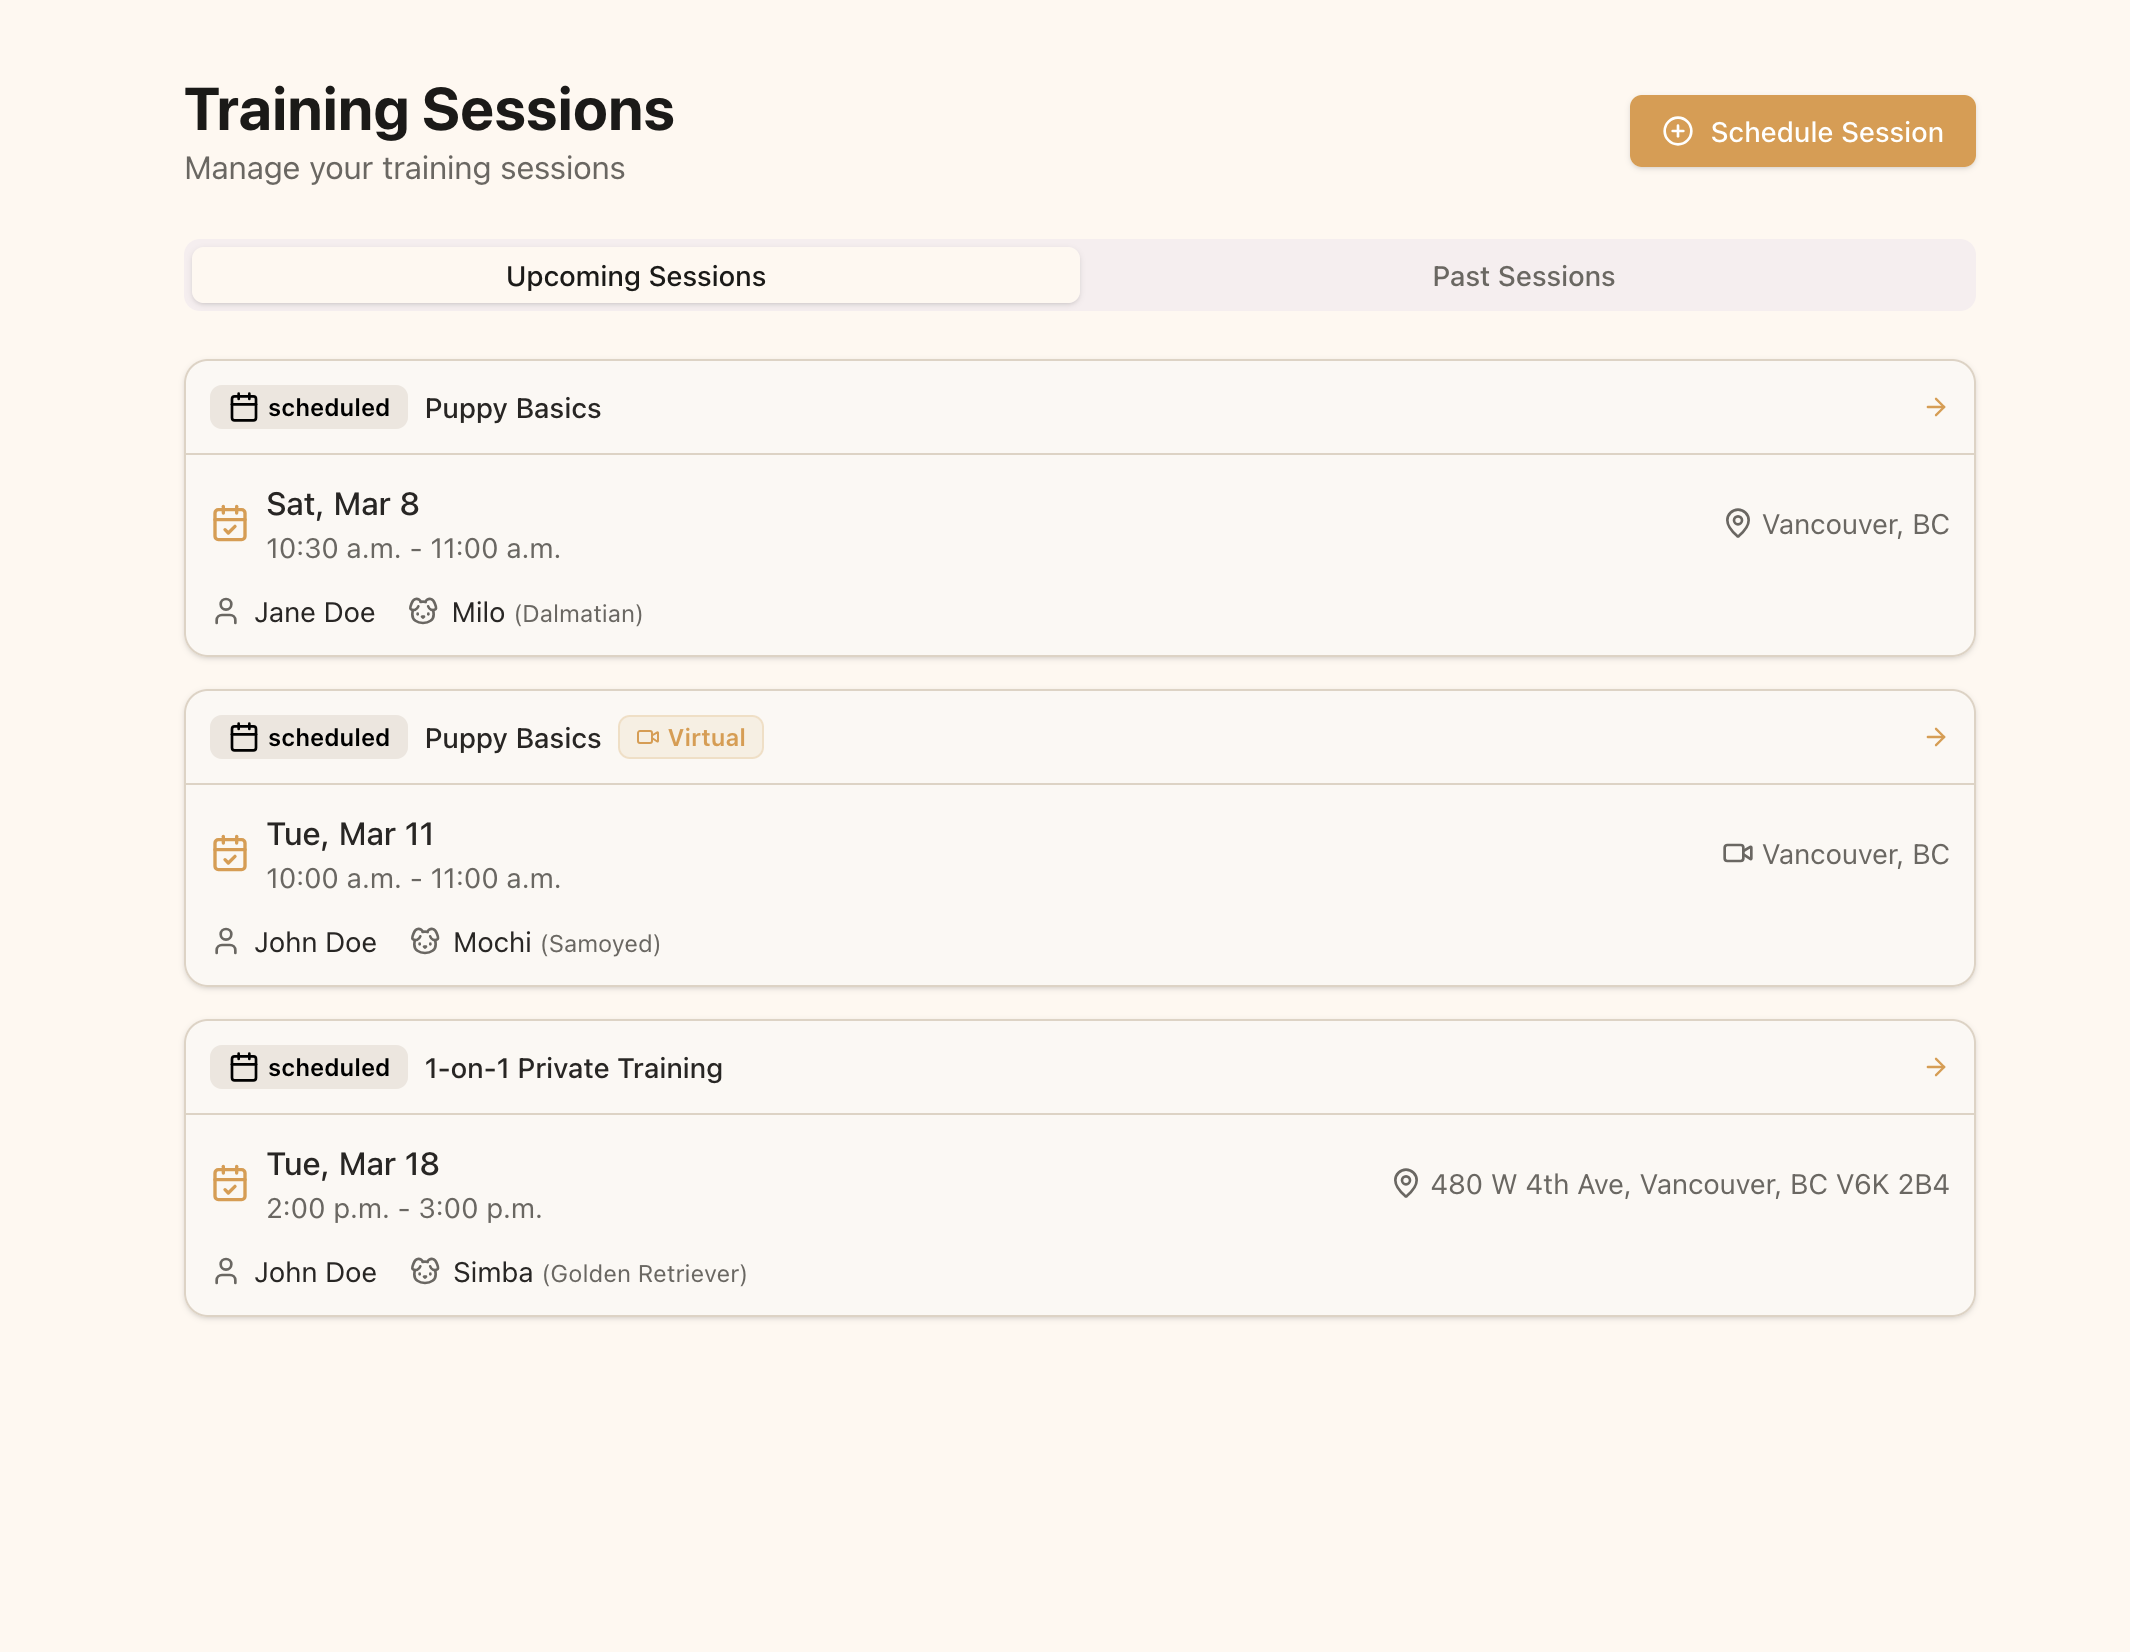
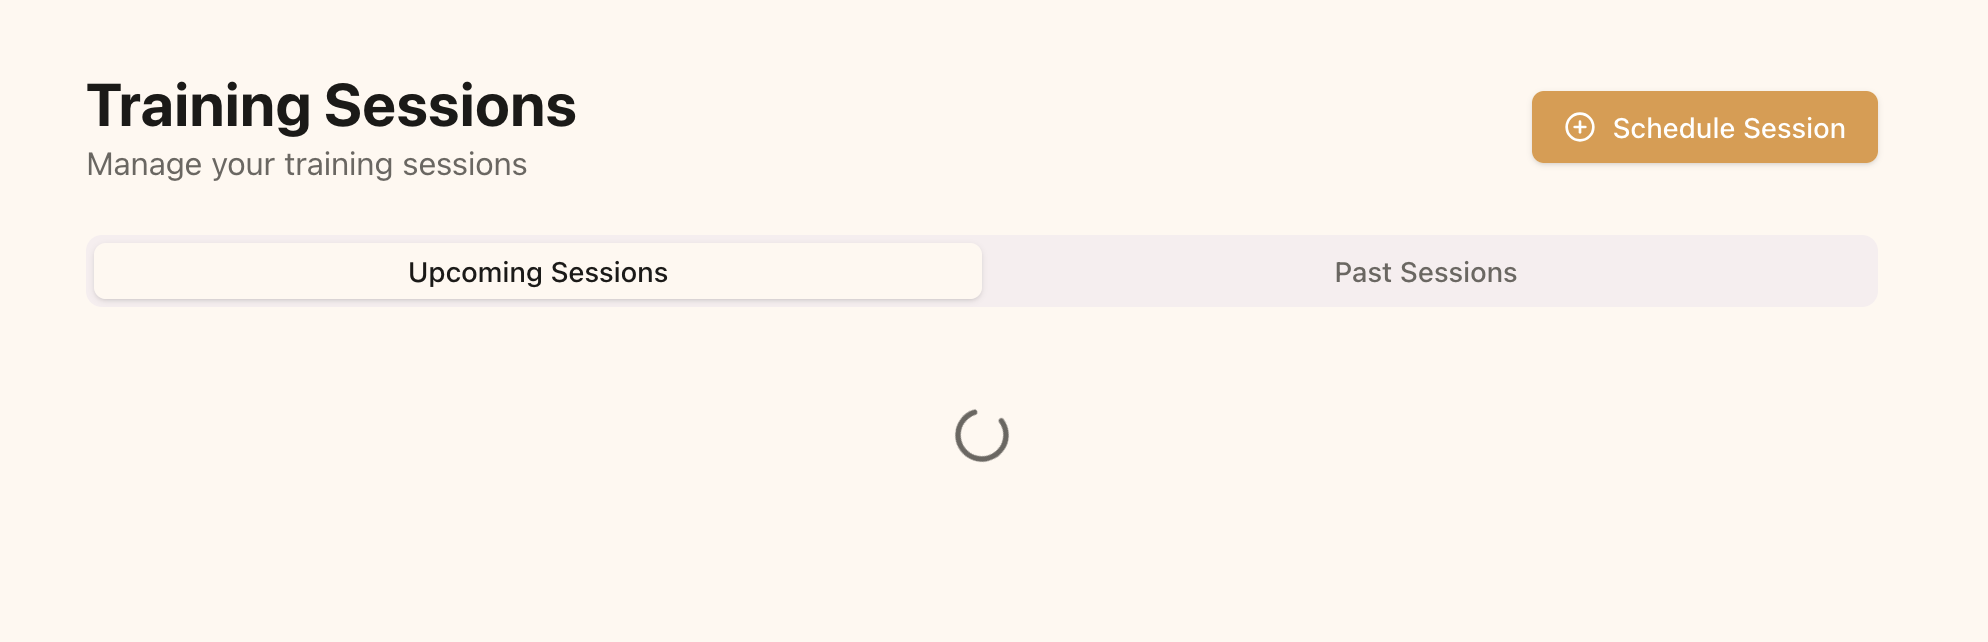
The Training Sessions page is your command center for all scheduled sessions
Creating a New Session
Step 1: Access the Sessions Page
From your dashboard, click on “Training Sessions” in the main navigation menu. This will take you to the sessions overview page.Step 2: Open the Schedule Dialog
Click the “Schedule Session” button in the top right corner of the page. This will open the session scheduling dialog.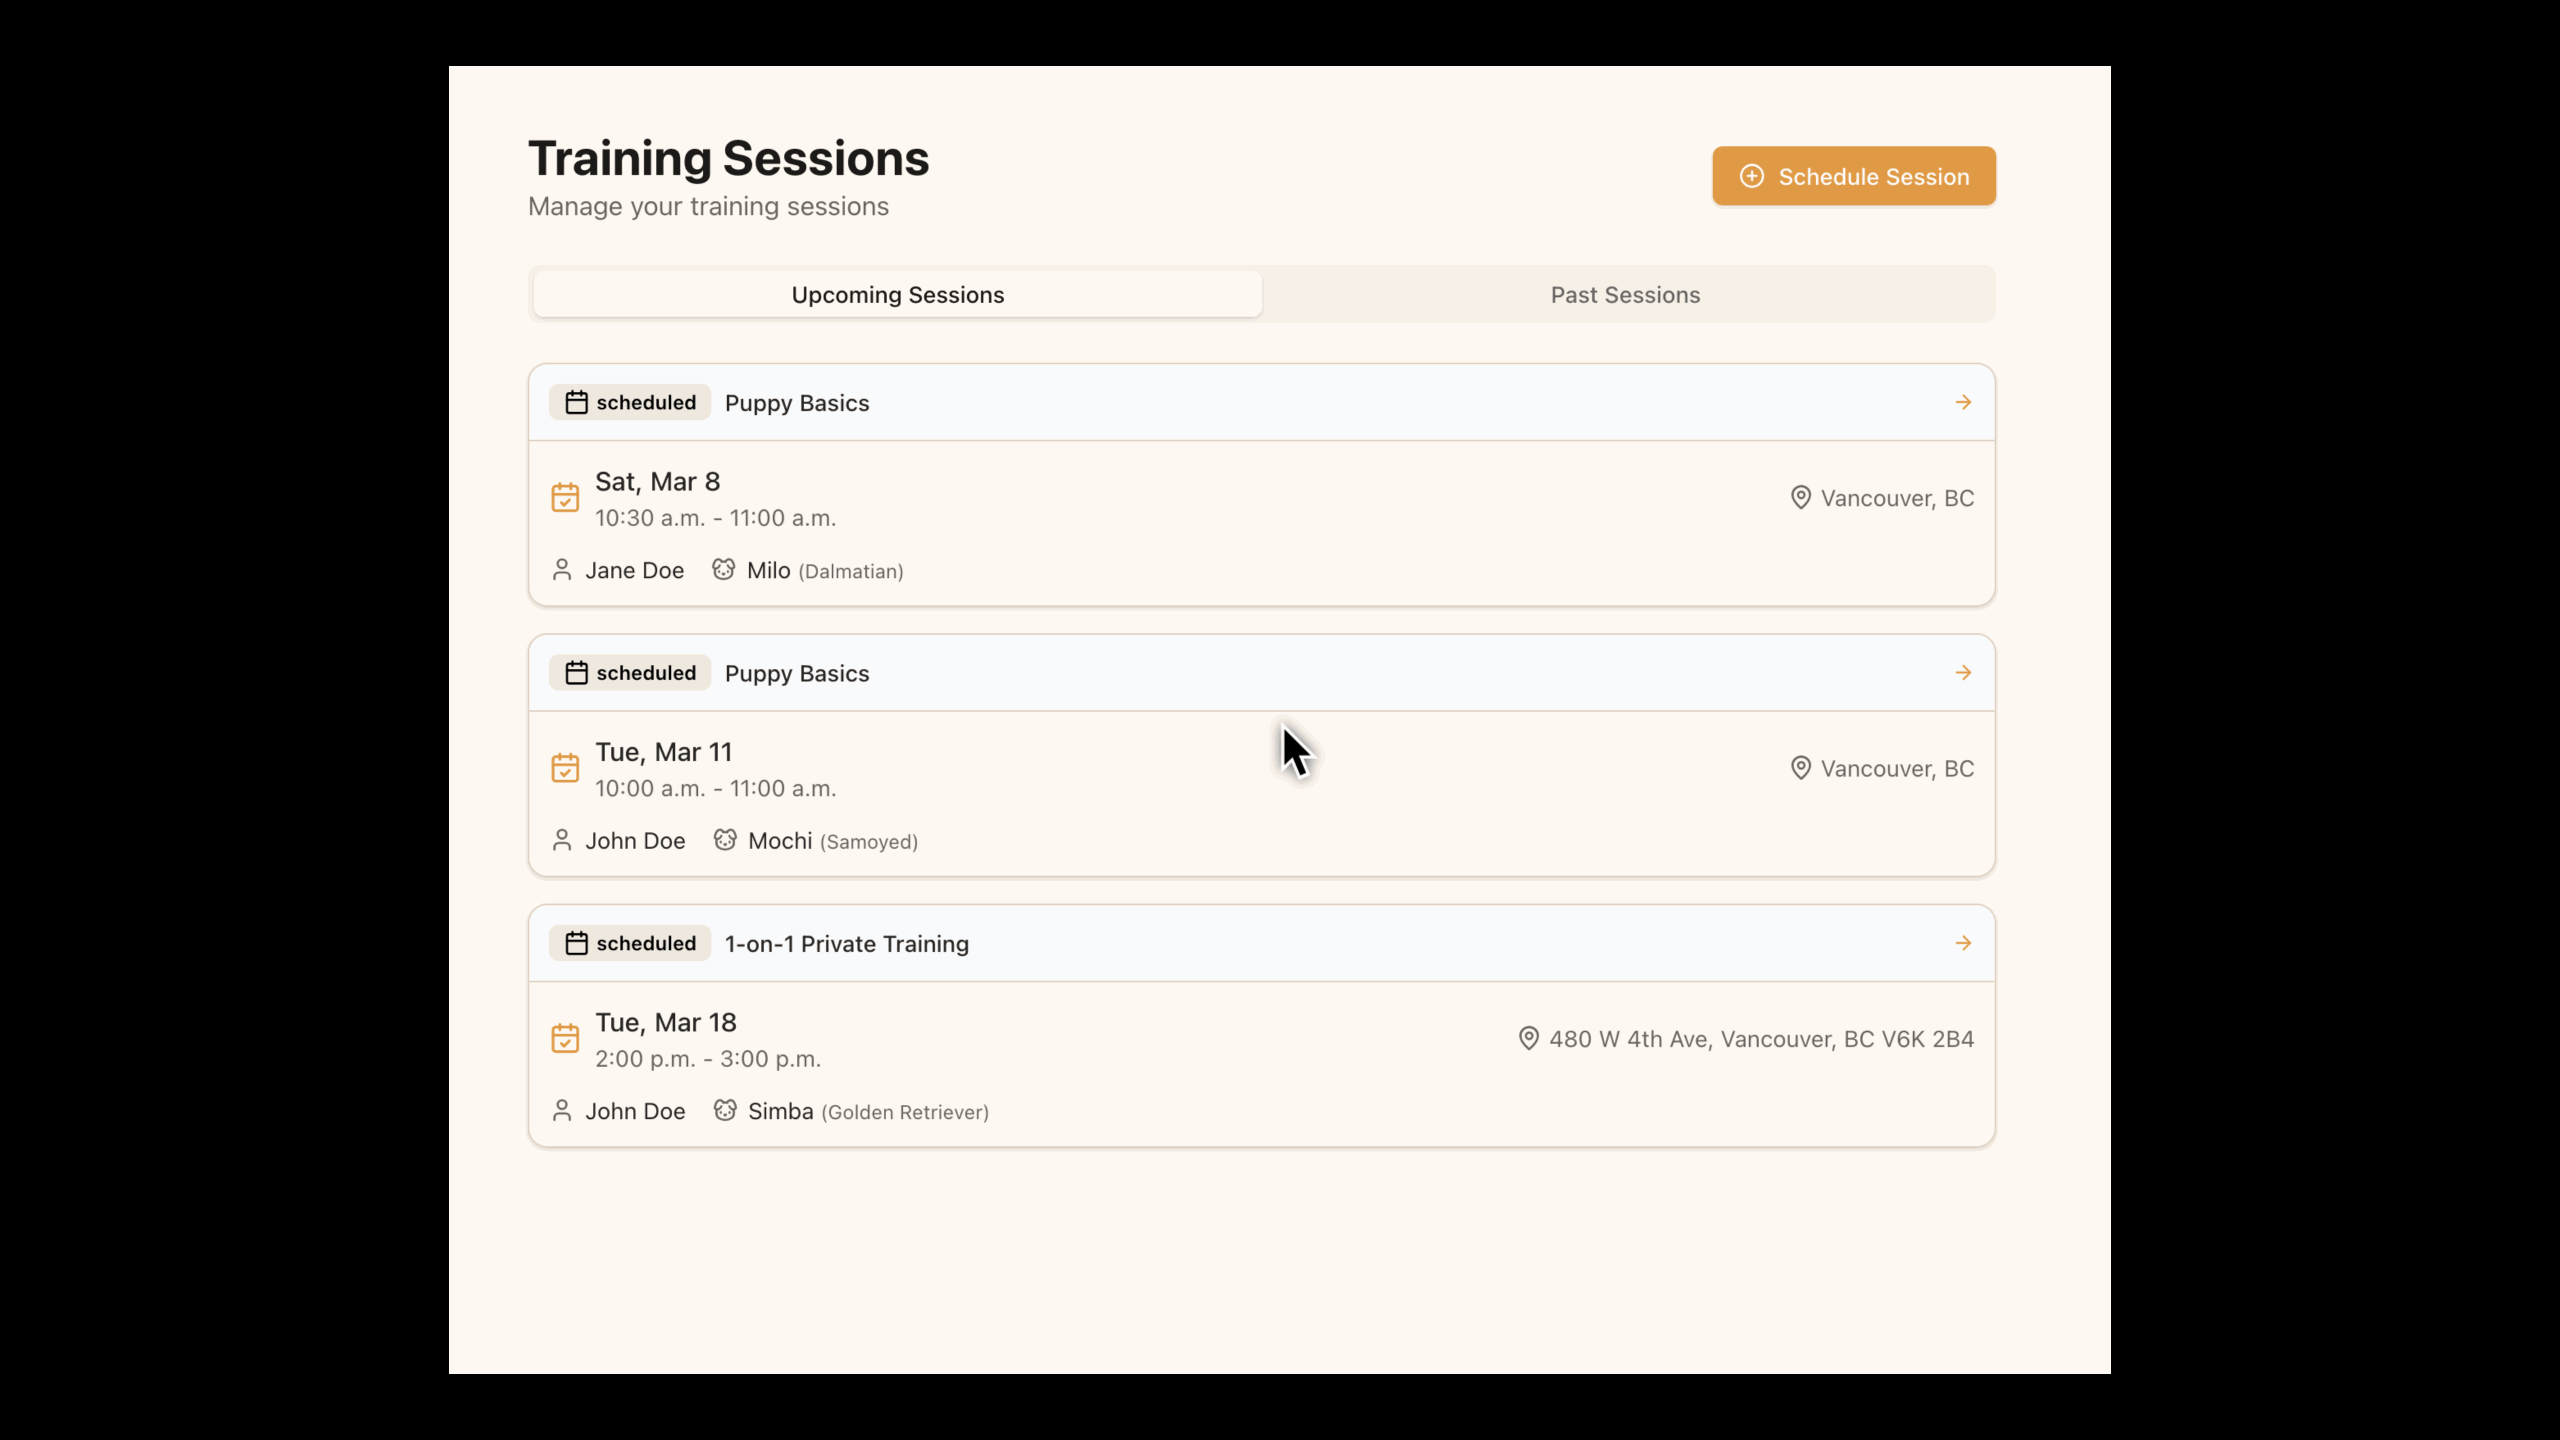
Click the “Schedule Session” button to create a new training appointment
Filling Out the Session Details
Package Selection
Select the appropriate training package for this session:- Click the package dropdown menu
- Choose the relevant package from the options
- The package details (session length, location) will automatically populate related fields
Only active packages will appear in the dropdown. If you don’t see a package, make sure it’s marked as active in your package settings.
Client and Pet Selection
Next, choose which client and pet will be attending the session:- Select the client from the dropdown menu
- Once a client is selected, their pets will become available in the pet dropdown
- Select the pet that will be participating in the training session
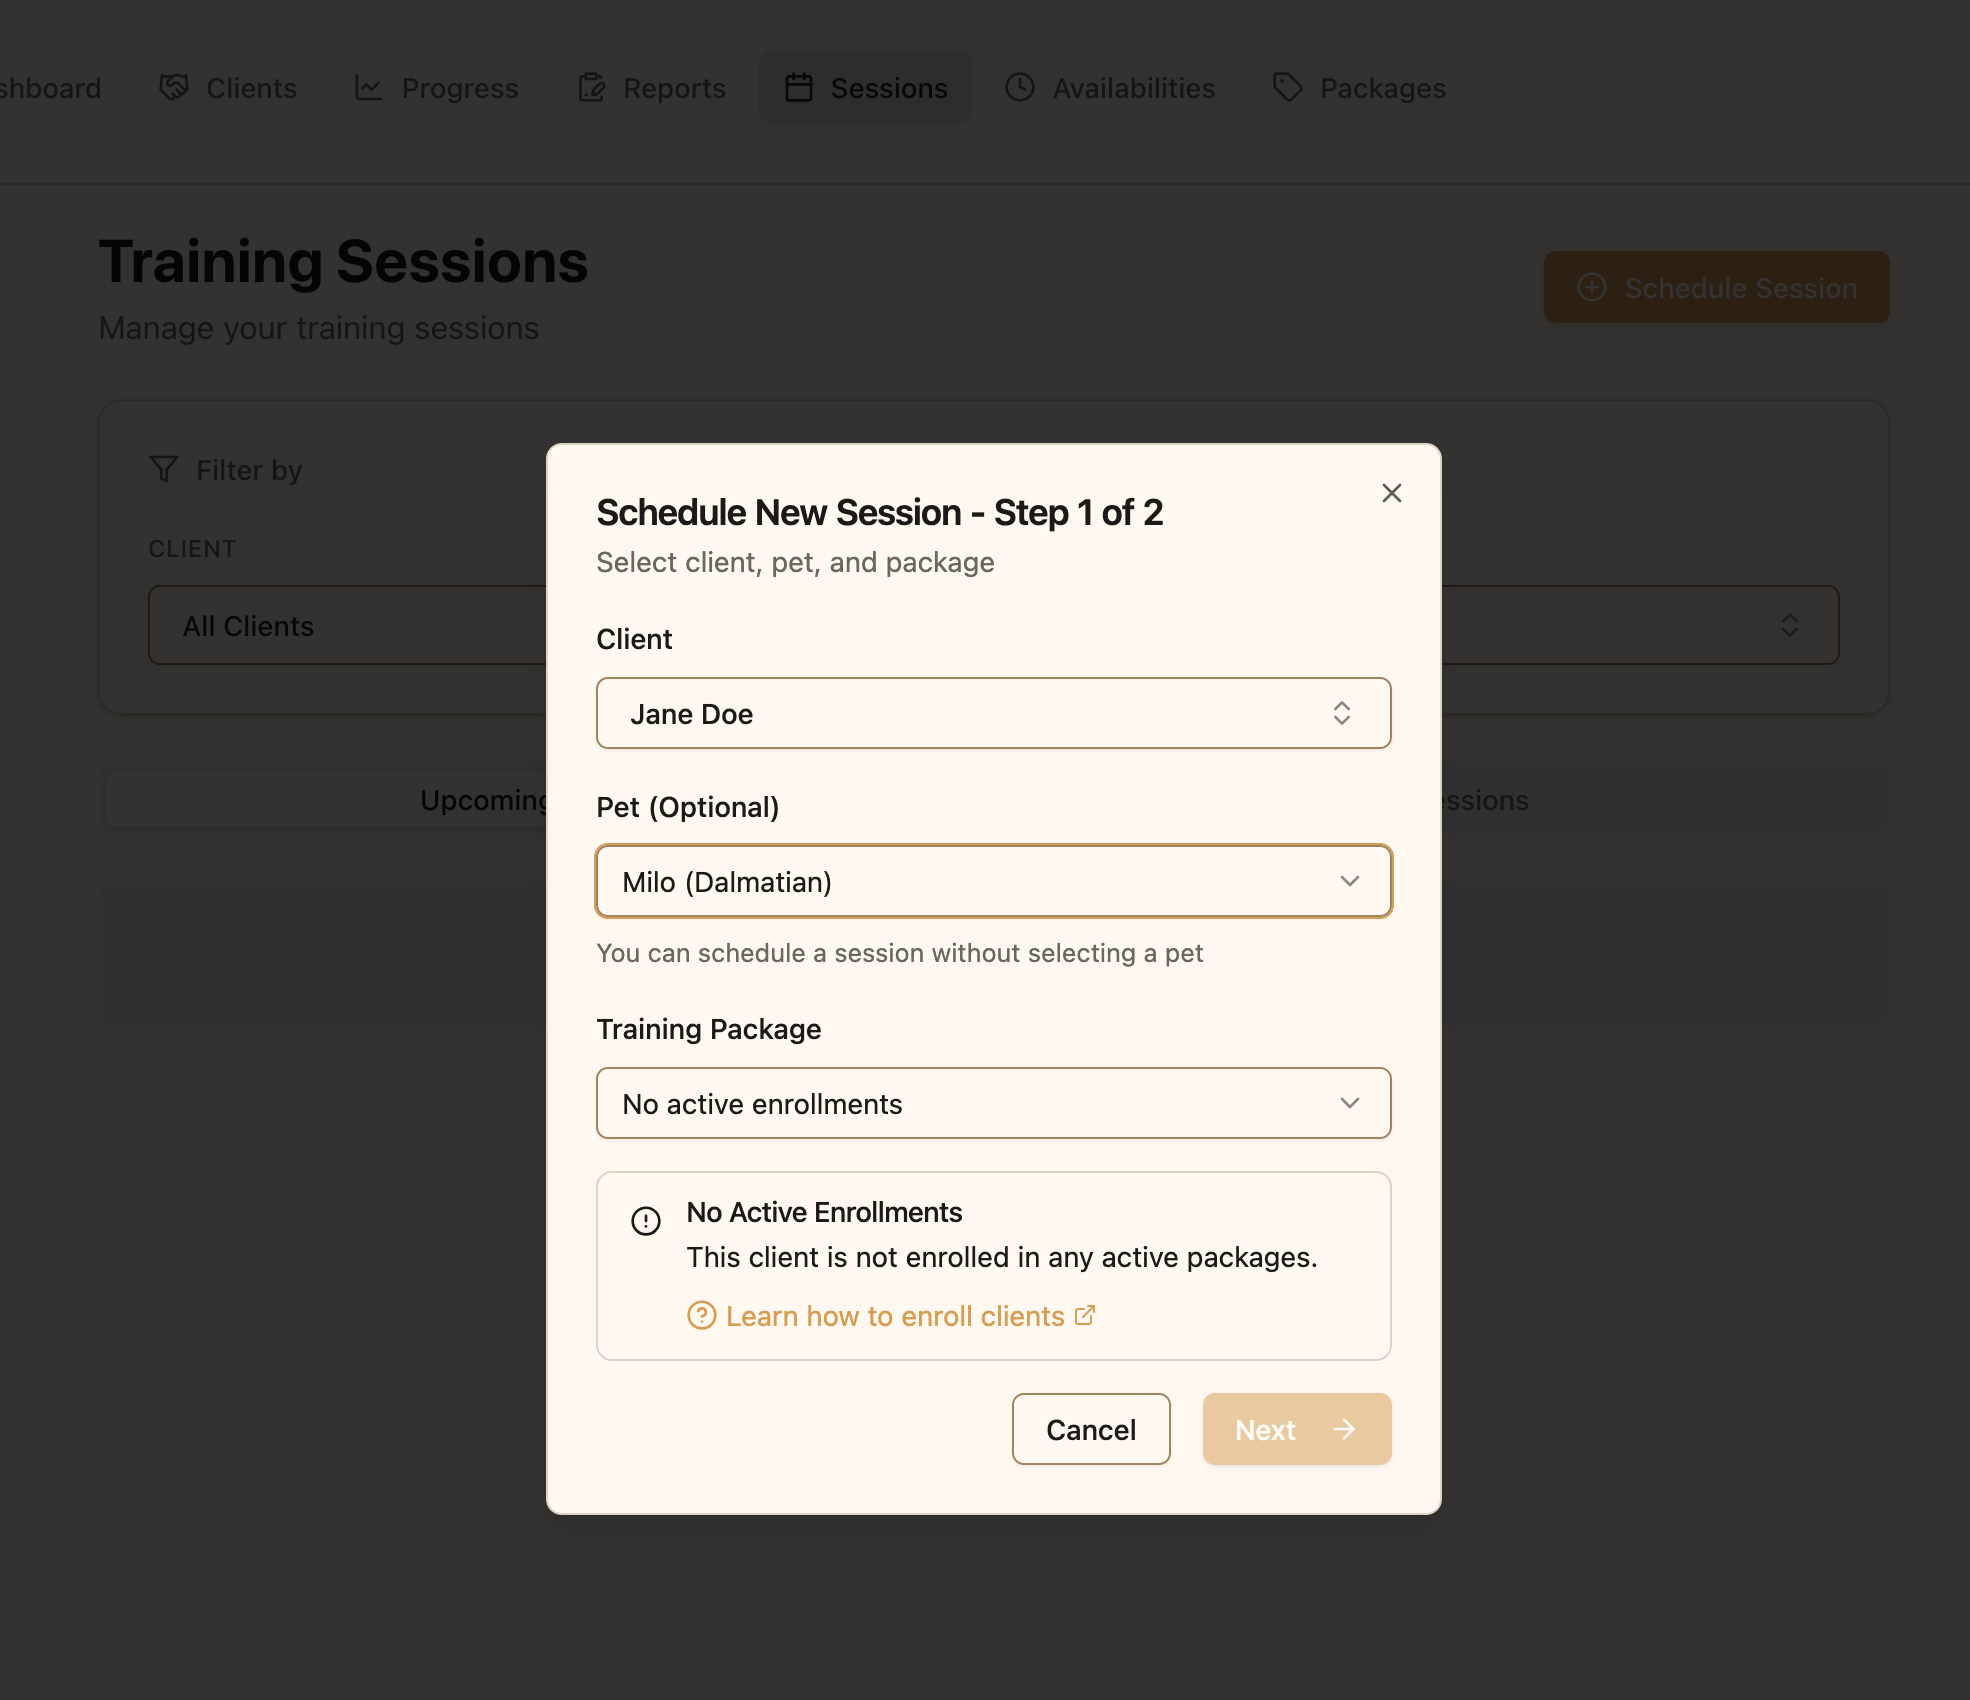
Select the client and their pet for the training session
Date and Time Selection
Set when the training session will take place:- Click the date field and choose a date from the calendar (you cannot select dates in the past)
- Enter the start time for the session
- Enter the end time for the session
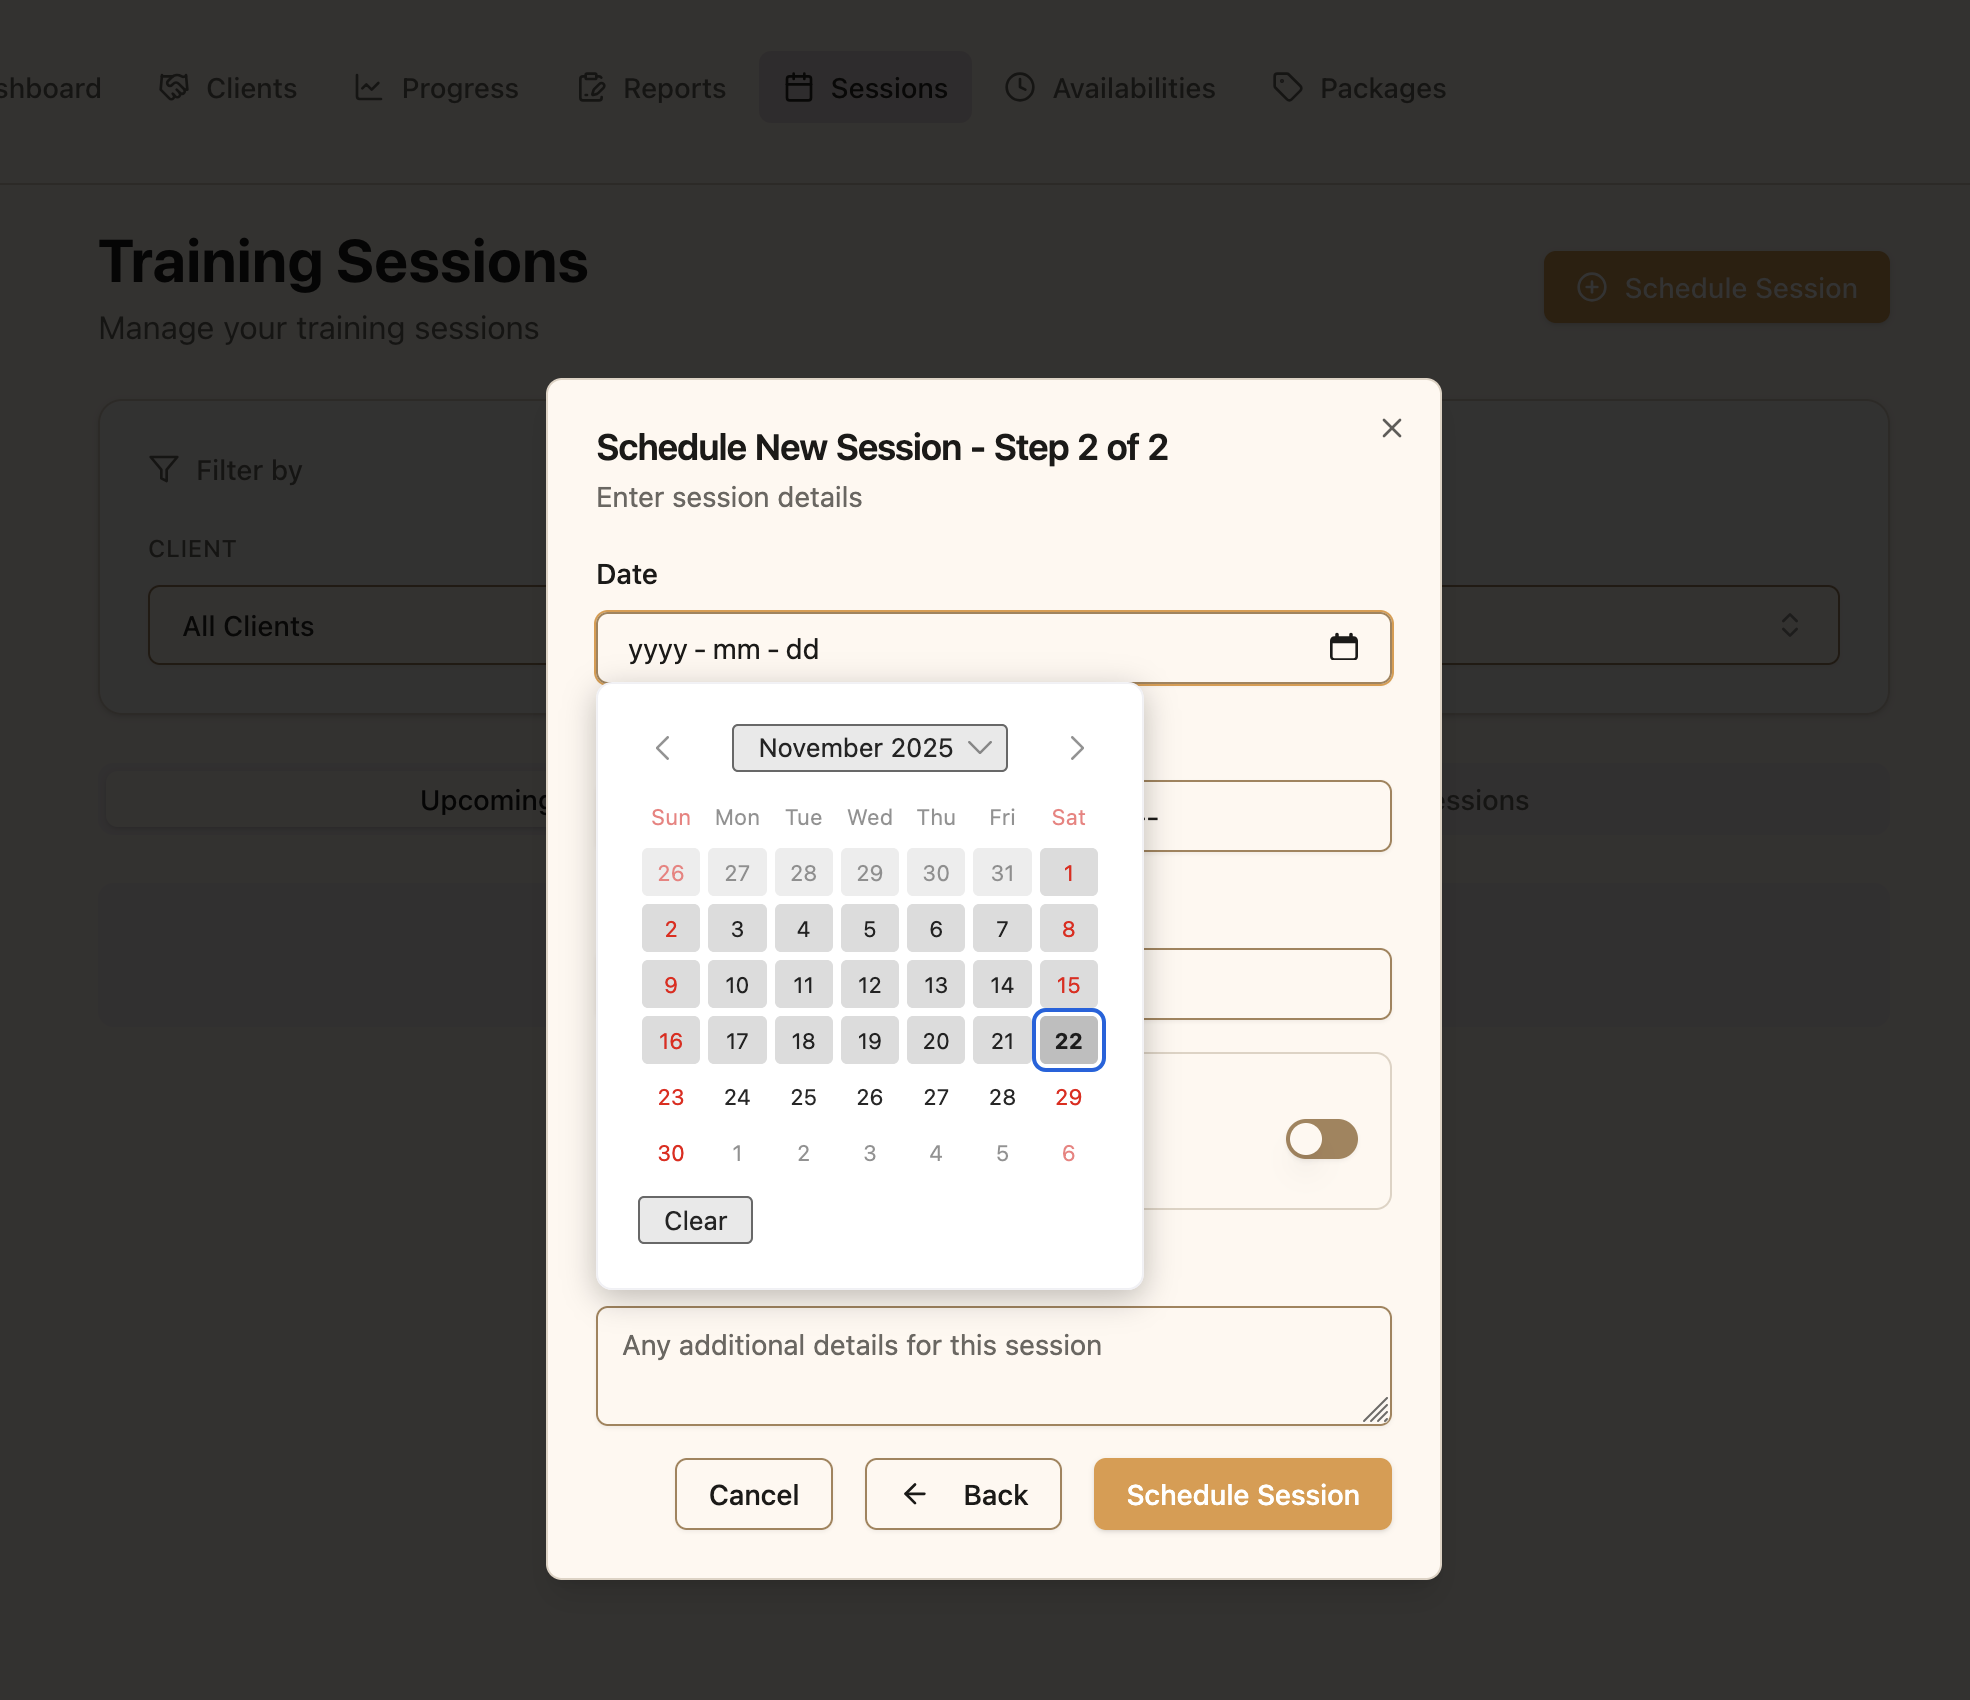
Select the date and specify start and end times for the session
Location and Additional Details
Finalize the session details with location and any special instructions:- Location: This field will automatically populate with the default location from the selected package, but you can modify it if needed (e.g., “Client’s home - 123 Main St” or “City Park - North Entrance”)
- Virtual Session: Toggle this option on if you’ll be conducting the session via Zoom instead of in person. When enabled, Pawgress will automatically create and share a Zoom meeting link
- Notes: Add any special instructions, reminders, or session-specific details that will help you prepare (e.g., “Bring clicker and treats” or “Focus on leash reactivity”)
Finalizing the Session
Once you’ve filled out all the required information:- Review all details for accuracy
- Click the “Schedule Session” button at the bottom of the dialog
- The session will be created and added to your Upcoming Sessions tab
Managing Your Sessions
Upcoming vs. Past Sessions
The Sessions page is divided into two tabs:- Upcoming Sessions: Shows all scheduled future sessions, sorted by date (earliest first)
- Past Sessions: Shows completed and cancelled sessions, as well as any scheduled sessions that have passed, sorted by date (most recent first)
Switch between upcoming and past sessions using the tabs
Session Cards
Each session appears as a card with key information:- Client and pet names
- Package name
- Date and time
- Location
- Session status (scheduled, completed, cancelled)
- Action buttons for viewing details, completing, or cancelling sessions
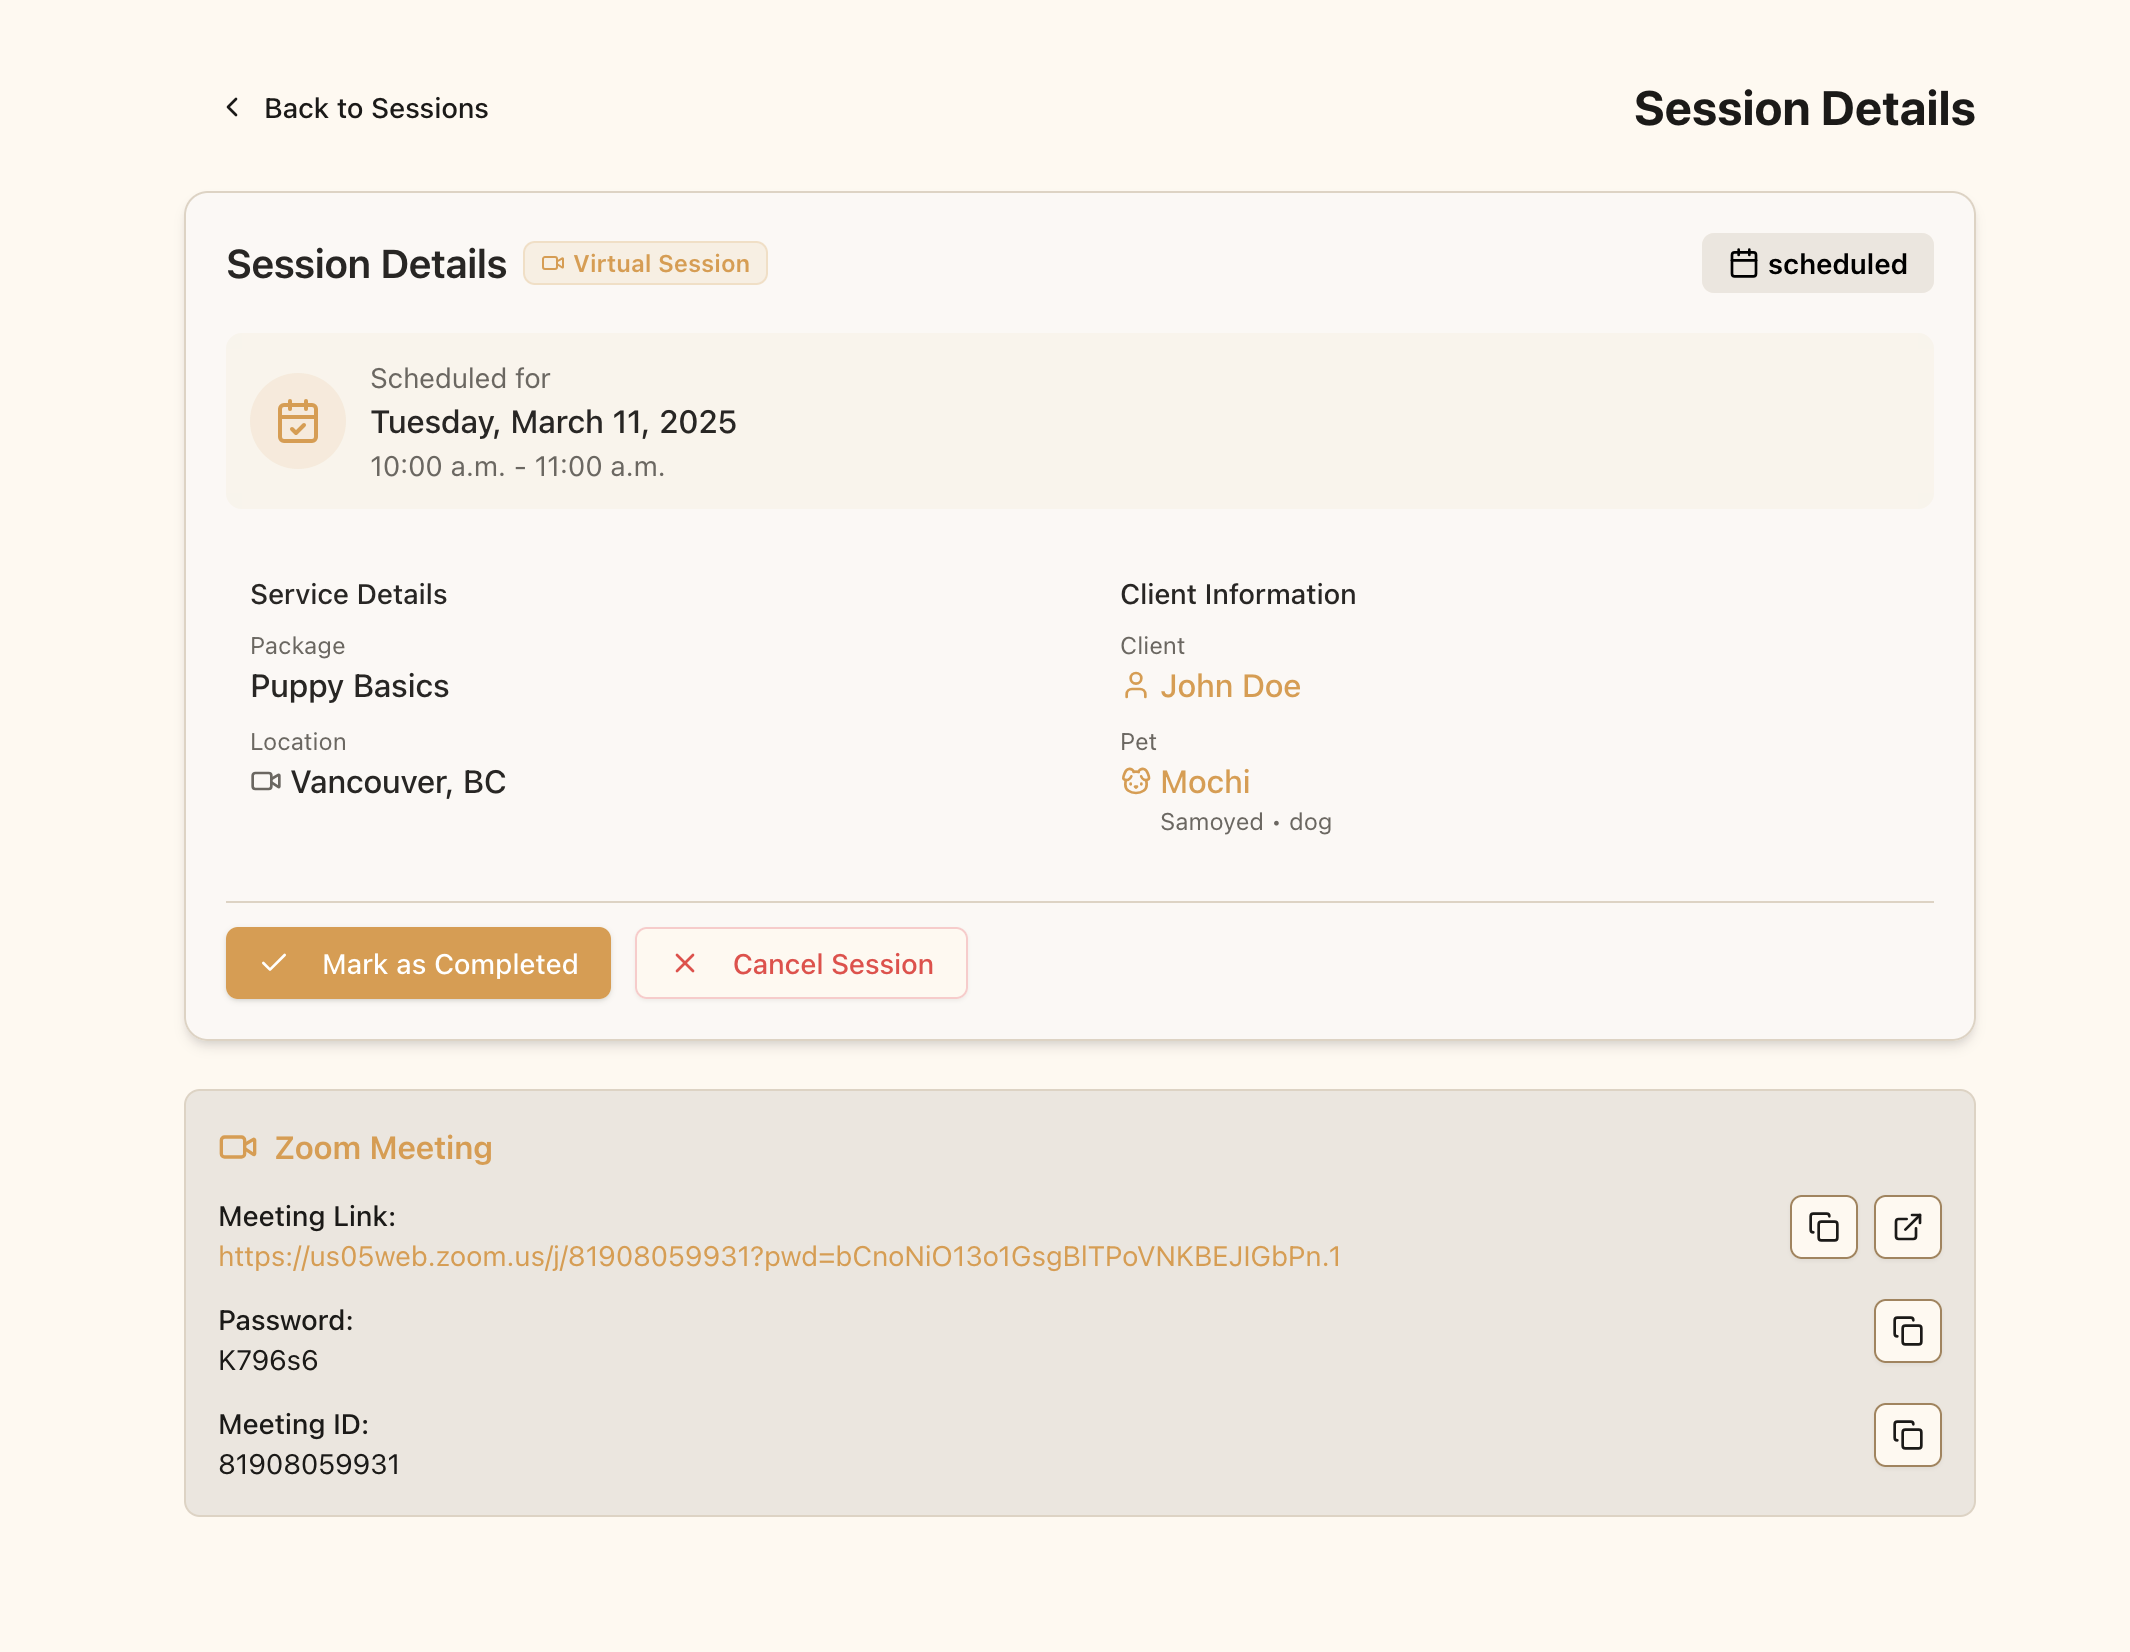
Session cards display all the essential information about each appointment
After the Session
Once a training session is complete:- Navigate to the session card in your Upcoming Sessions tab
- Click the “Mark as Completed” button to mark the session as finished or “Cancel Session” to cancel a session
- The session will move to your Past Sessions tab when completed or canceled
Next Steps
Now that you know how to schedule sessions, you might want to explore:- Setting up your availability to streamline session scheduling
- Creating training reports to document session outcomes and client progress
- Google Calendar integration to sync your sessions with your personal calendar
- Zoom integration for virtual sessions